Elements Exposure Management (XM)
A collection of short easy steps to get started in taking the product into use
Follow the steps below to get started with the product.
Step 1 - Creating a WithSecure™ Business Account
You need a WithSecure™ Business Account to access WithSecure™ Elements Security Center, which is the unified management platform for managing all WithSecure™ Elements products. There are two scenarios:
- When you purchase the product from a WithSecure partner, the partner typically creates a Business Account for the first administrator in your organization. If this applies to you, you have received an email from WithSecure with a temporary password and a link to log in to Elements Security Center.
- If your account has not yet been created, but you have received a subscription key from your partner, you can use the subscription key to create a WithSecure™ Business account for the first administrator in your organization. To do that, use the company self-registration link for your specific region:
- For Europe, Middle-East, and Africa: https://emea.epp.elements.withsecure.com/#/create-company-account
- For America: https://amer.epp.elements.withsecure.com/#/create-company-account
- For Asia Pacific: https://apac.epp.elements.withsecure.com/#/create-company-account
- For Europe, Middle-East, and Africa: https://emea.epp.elements.withsecure.com/#/create-company-account

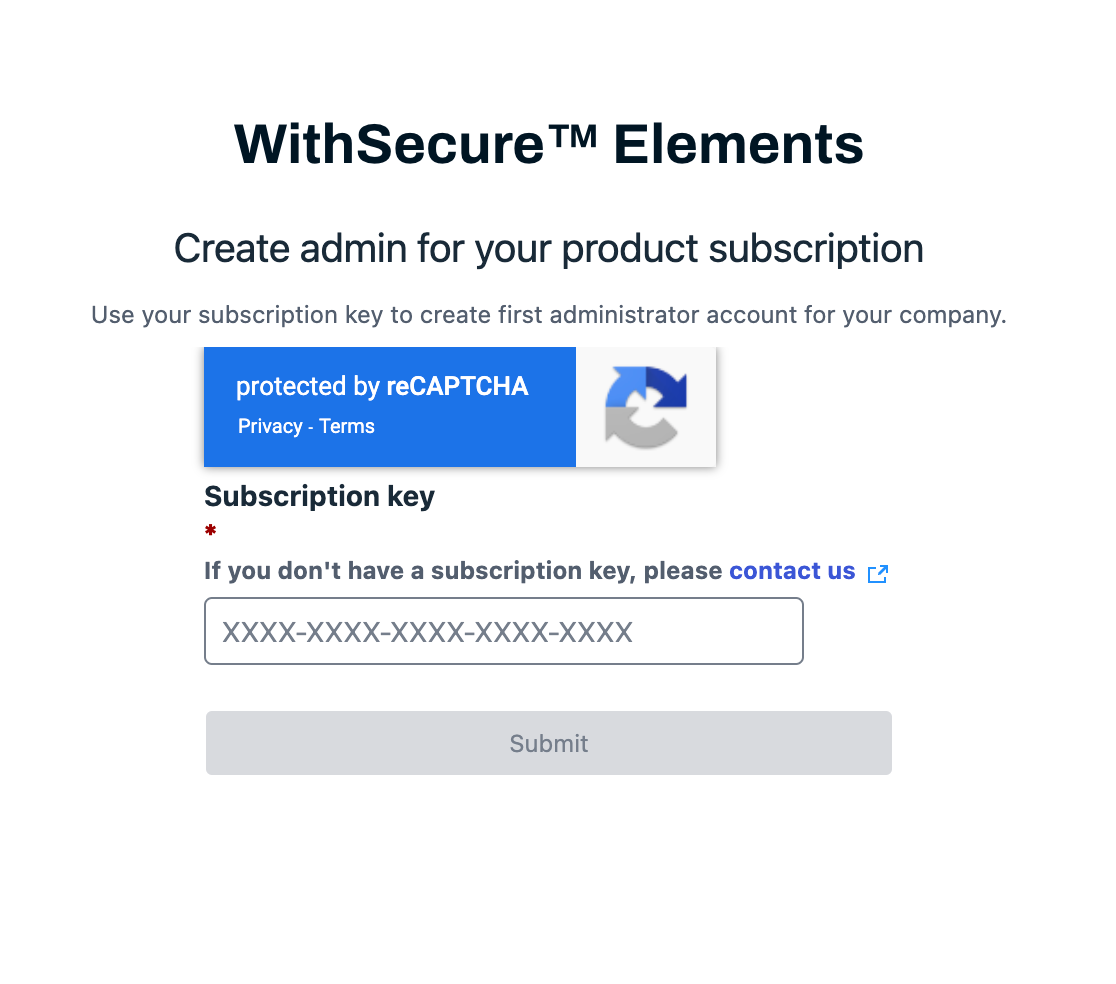
Browse to https://elements.withsecure.com/self-register and provide an email and the subscription key you received with your purchase to create the first administrative account.
Step 2 – Login to Elements Security Center and start asset onboarding
After creating the Business Account, use WithSecure™ Elements Security Center to administer the product.
In the following , items in bold are section headings in the Exposure Management User Guide, where more detailed information can be found.
Subscription: Exposure Management for Users
· Install Elements Agent (Section “Device onboarding” in the User Guide) or Enable Elements Agent scanning to existing devices (“Activating WithSecure Elements Agent scanning on devices”)
· Perform Azure tenant onboarding to bring identity information to Elements Exposure Management (“Adding Azure cloud accounts”)
· Configure Cloud Scan nodes to scan internet-facing assets (“Cloud account scans”)
· Configure External Attack Surface to identify internet-facing assets (EASM) (“External attack surface scans”)
· Install and configure Elements Scan nodes to scan all other devices (“Installing scan nodes on Windows devices” or “Installing scan nodes on Linux devices“)
Subscription: Exposure Management for Cloud
· Perform Azure tenant onboarding Management if you haven’t done it already (“Adding Azure cloud accounts”)
· Perform AWS tenant onboarding Management (“Adding AWS cloud accounts”)
· Configure and schedule cloud accounts scans (“Cloud account scans”)
Step 3 - Creating additional administrator accounts for other users in your organization
To create a new administrator account, in Elements Security Center, on the sidebar, select Management > Security Administrators > Add user:
In add administrator form:
Enter email address and click next
For Exposure Management for User
Under roles select Exposure Management “Full Editing” role and Vulnerability management “Admin” role and click next
For Exposure Management for Cloud
Under roles select Exposure Management “Full Editing” role and click next
Finally, review the information and click Add

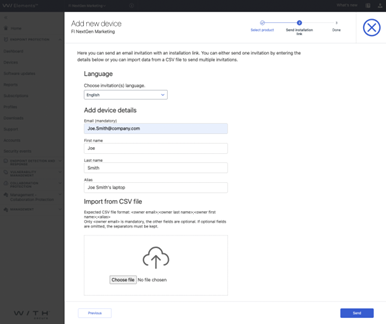
- Select the subscription to use and select Next.
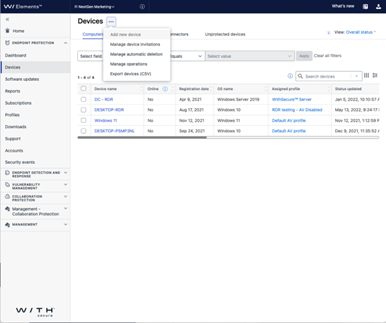
- Follow the steps in the wizard and send an email invitation to one or more users with a download link to the installer.

Step 4 – Giving Exposure Management access role to existing user
To give an existing Elements administrator the Exposure Management admin role, in Elements Security Center, on the sidebar, select Management > Security Administrators
- Find the user who needs Exposure Management access
- Click the users email address
Under roles select Exposure Management “Full Editing” role and click save